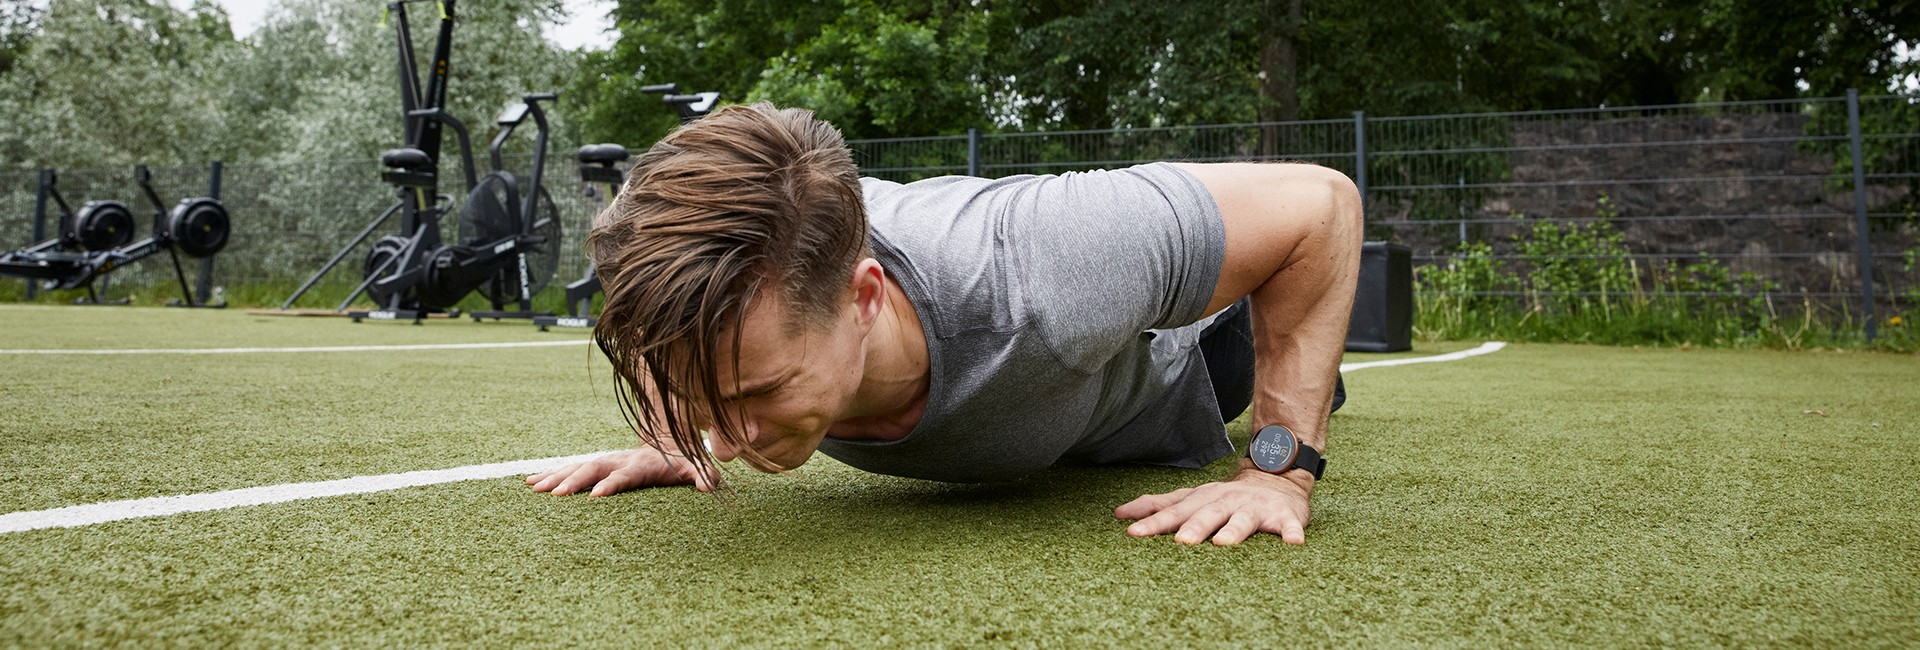
Looking for a fun way to get active and enhance your fitness? Polar Ambassador (and celebrity personal trainer) Jack Hanrahan has created this 4-week workout program to get you feeling strong, fit, and moving well! Whether you’re a beginner or an occasional exerciser looking for a new challenge, this plan will help you create an easy yet effective workout routine that can be done at home.
Each week, there are three new workouts:
- 1 x Strength Circuit (with dumbbells and bodyweight)
- 1 x Anti-HIIT Cardio
- 1 x Mobility Routine
You can perform each workout once or twice a week, depending on how frequently you like to train. If you perform them twice, try to space them out so you don’t perform, say, two strength workouts in a row, or two cardio sessions in a row. This will keep your training sustainable and allow your body to effectively recover.
Each week, you will have a fresh routine with new exercises to challenge your body in different ways! It’s the perfect 4-week workout for helping you stay motivated and improve your all-round fitness.
Strength Circuits
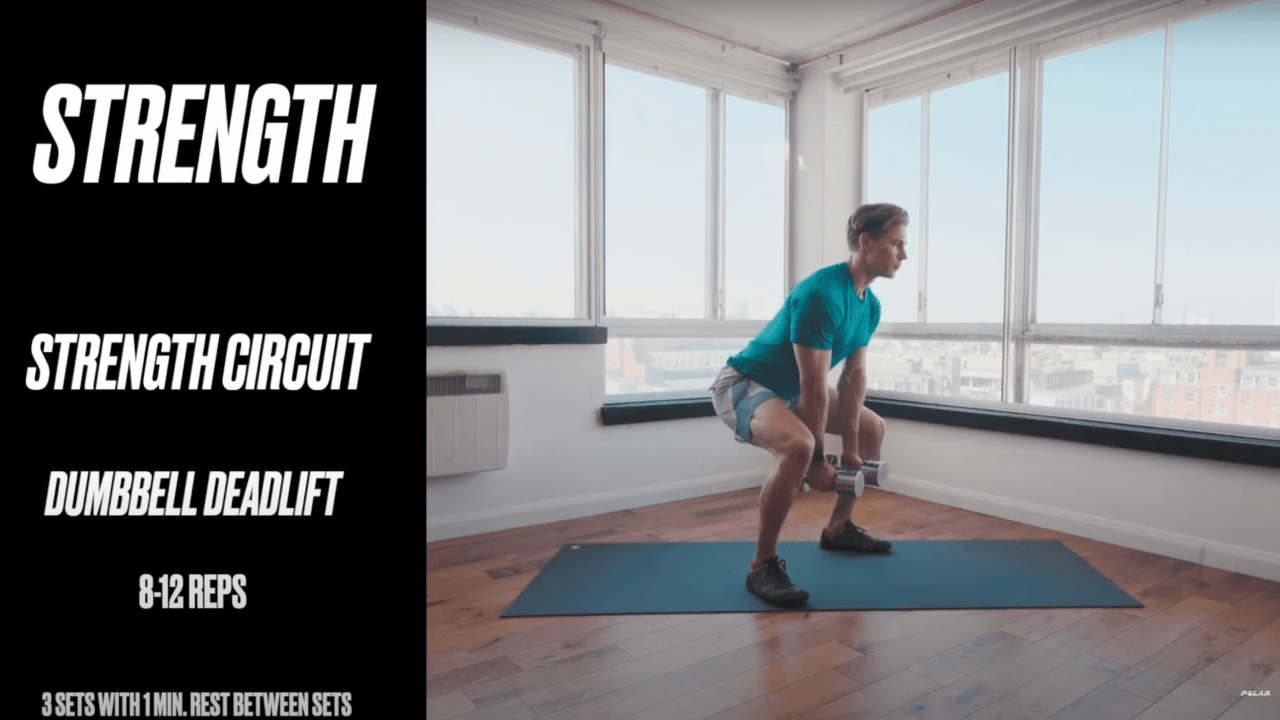
The strength workouts are full body and circuit style. Start with the warm-up to prepare your body for exercise (this should take around five minutes), then proceed to the strength circuit.
Each strength circuit includes four exercises that collectively target every muscle in the body.
Exercises
Perform three or four rounds, cycling through the exercise in the following fashion:
- Exercise 1
- Rest 60 seconds.
- Exercise 2
- Rest 60 seconds
- Exercise 3
- Rest 60 seconds
- Exercise 4
- Rest for one or two minutes, then repeat for three or four rounds
Guidelines
- You can increase or decrease the rest as you see fit – this is a great starting point.
- Feel free to adjust the reps. You may be able to perform more or less, depending on how heavy you feel comfortable lifting.
- Perform each exercise with a nice and controlled form. Watch the demos and try to follow a similar tempo.
- Always finish each set with a couple of reps in the tank. That way you won’t burn out and will maintain your energy and performance throughout the workout.
Anti-Hiit Training
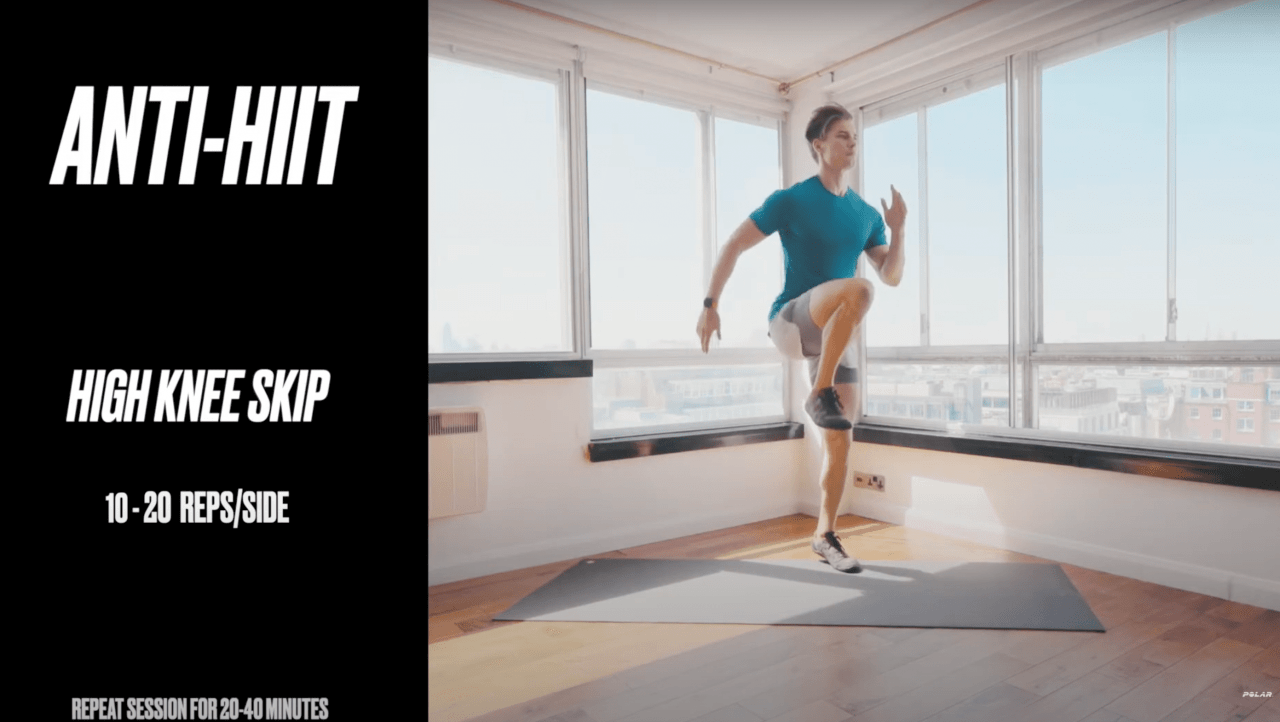
Anti-Hiit training is a type of interval cardio whereby the intensity is kept moderate so you perform the exercises continuously with very minimal rest between them.
It’s very similar to low-intensity, steady-state cardio, using dynamic exercises instead of a cyclic activity such as jogging, cycling, or swimming.
The benefits of this type of cardio:
- Improve aerobic fitness
- Keeps your body in the ‘fat-burning zone’
- Joint-friendly and low impact
- Easy to recover from
- Feel energized after, not beat down
Exercises
Perform the workouts in the following fashion:
- Exercise 1
- Three deep nasal only breaths (attempt to fully inflate the lungs with a long slow diaphragmatic breath and full, steady exhale)
- Exercise 2
- Three deep nasal only breaths
- Go back to Exercise 1… repeat this sequence for your desired workout time.
Guidelines
- Try to perform the entire workout breathing only through your nose. Nasal breathing has profound benefits such as improving your ability to utilize oxygen, thus improving aerobic health and performance. It also serves as an excellent gauge of exercise intensity. If you feel the urge to breathe through the mouth, it means you’re likely pushing too hard and need to decrease the reps and increase the recovery between intervals. It’s ok to breathe through the mouth if this is challenging to do, but try to build up your capacity to do nasal-only breath gradually over time.
- Adjust the session length to your fitness level and/or time availability (20-40 minutes).
- Wearing a heart rate monitor? Try to keep it around the top end of zone 2 on average – somewhere between 65-75% of your max.
- Not using an HR monitor? Work at an intensity that you could maintain conversational pace e.g. you could speak a few sentences. If you could only speak a couple of words, dial back the intensity a little.
Mobility
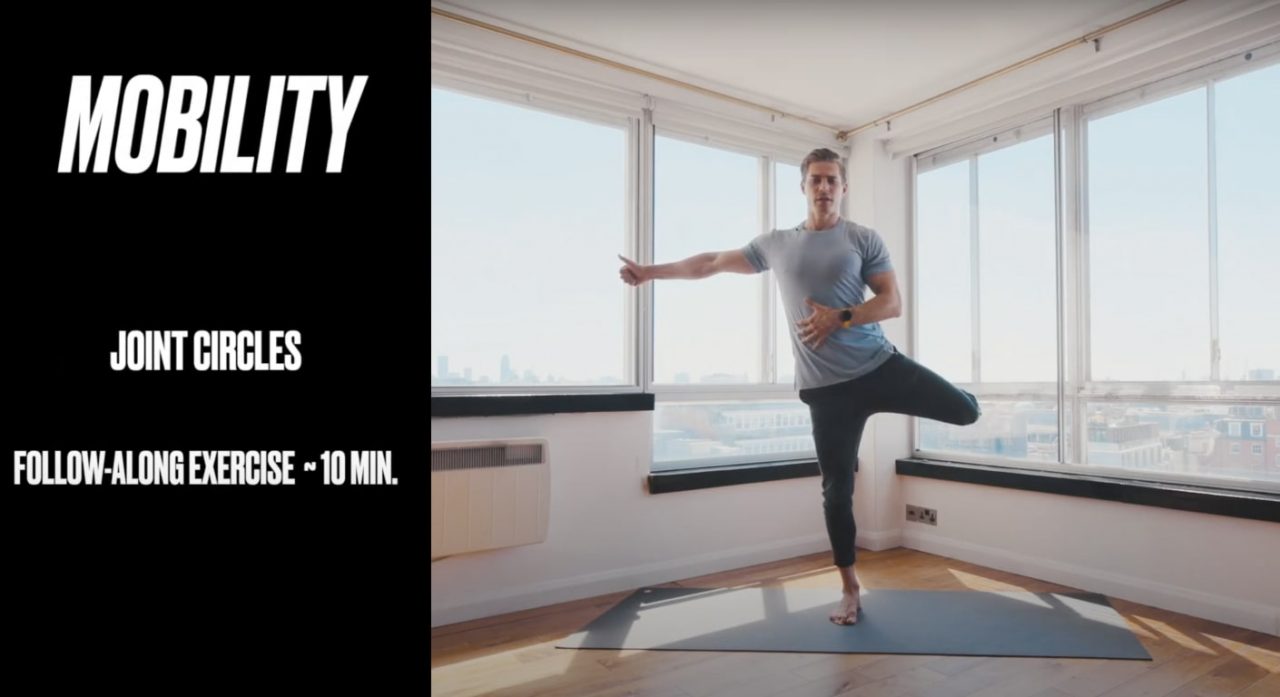
The mobility routines are follow-along style and take about 10 minutes. Simply find some floor space, wear comfortable, non-restrictive clothing, press play, and enjoy.
Feel free to perform more than once per week. They are great little self-care routines to mobilize joints, get rid of stiffness and muscle aches, and generally get your body feeling good.
If you’re ever looking for more inspiration for mobility exercises, check out Jack’s Instagram, where he uploads a new mobility flow every weekend.
Week 1
Monday
Tuesday

Wednesday

Thursday
Friday

Saturday
Sunday
Week 2
Monday
Tuesday
Wednesday
Thursday
Friday
Saturday
Sunday
Week 3
Tuesday
Wednesday
Thursday
Friday
Saturday
Sunday
Week 4
Monday
Tuesday
Wednesday
Thursday
Friday
Saturday
Sunday
Warm-up EXERCISE DESCRIPTIONS
90/90 Stretch
Front thigh facing forward with a 90-degree angle at the knee. Back thigh out to the side with a 90-degree angle at the knee. Shoulders square to the front shin. Hands down for support. Lean the shoulders forward and think about lifting your belly button up and over the shin. Keep your back straight and long. You should feel the stretch under the front hip (deep glute). Back out of the stretch and repeat.
Hip Flexor
Start in a lunge position. Your back knee, hip, and shoulder should be in a straight line. The back of the front knee should be in line with the back of the heel. Tuck the tailbone. Squeeze back glute and brace abs. Place hands on the front knee. From here, oscillate in and out of end range with a short dynamic lunge. You should feel this across the hip of the back leg.
Adductor (Frog)
Start on all fours. Spread the knees and go down onto your elbows. Flatten the low back. Now shift your hips back until you feel a stretch on the inside legs (groin). Shift the hips forward to come out of the stretch and repeat.
M-Climber T-Spine > Rotation
Start on all fours – hands under shoulders, knees under hips. Step one foot to the outside of your hand. Reach the same side hand to the sky. Return to ground and repeat.
Hinge
Stand with feet hip-width apart and a shallow bend in the knees. Reach the hips back and tilt the tailbone up to the sky (also imagine your pelvis is a bucket of water and you’re trying to spill water out the front). Find that deep hamstring stretch then drive the hips forward and repeat.
Wall Slide
Stand against a wall, with your back flush. Raise your arms against the wall – elbows in line with shoulders and upper arms straight. Make your best attempt to keep your forearms and wrists flush with the wall. Now, slide the arms up to form a ‘Y’ shape, breathing out at the same time. Then pull your elbows back down to the start position. Be mindful that the ribs don’t flare and the low back doesn’t arch – keep the core engaged.
Wall Angel
Stand against a wall, with your back flush. Core engaged. Arms by your sides. Slide your arms up and overhead trying to keep them flush with the wall. Then return them to your sides. Be mindful that the ribs don’t flare and the low back doesn’t arch when you do this.
Cat/Cow
Start on all fours. Hands under shoulders. Knees under hips. Round your back by tucking the hips, crunching the abs, drawing your collarbones to the hips, and tucking your chin. Then, arch the low back, drive the belly to the floor, your chest to the floor, and lift your head to gaze forward. Keep the arms straight and shoulder blades back and down away from your ears. Repeat.
Hip Circle (standing)
Arms out to the side for support. Raise knee to chest, keeping down leg straight. Turn knee out to the side maintaining the same height. Turn the sole of your foot to the sky as much as you can without the hips hiking. Then wrap the knee back under your hip and repeat.
Hip Circle (all fours)
On all fours position. Drive knee forward. Open leg out to the side. Square the sole of your foot to the ceiling and wrap the knee around and behind the body into extension. Follow through and repeat.
Shoulder Circle (tall kneeling)
Start in a tall kneeling position: Straight line between knees, hips, and shoulders. Hips tucked. Glutes squeezed and abs braced. Raise arms overhead – hands in line with shoulders. Turn palms outwards and reach back until you find your hips with the palms now facing away from your body. Reverse motion.
Shoulder Circle (½ kneeling)
Start in a ½ kneeling or lunge position with the back knee on the ground and a 90-degree angle at the knees. Abs braced and back glute squeezed for stability. Raise arm overhead – hand in line with the shoulder. Turn palm outwards and reach back until you find your hip with the palm now facing away from your body. Reverse motion.
Lower Body EXERCISE DESCRIPTIONS
Split Squat With Dumbbells
Start in a standing position with dumbbells by your sides. Take one foot back and go up onto the ball of your foot. Your weight should be mostly on the front leg. Hinge the hips until you have a forward angle of the upper body. As you descend, sink straight down into your front hip … you should feel it in the glute and thigh. Push through your front foot to come back up and lock the knee before repeating desired reps.
Reverse Lunge With Dumbbells
Start in a standing position with the dumbbells by your sides. Step back and down until your back knee is just off the ground. As you do this – lean forward to counteract stepping back. This will keep you balanced. Use the front leg to pull your body back up to standing rather than pushing from the back foot.
B-Split Squat
Think of this movement as exactly like the split squat but with the back foot elevated. Meaning, it’s a bit more challenging from a balance and stability standpoint:
Start in a standing position with dumbbells by your sides. Take one foot back onto a sofa behind you, foot face down. Your weight should be mostly on the front leg. Hinge the hips until you have a forward angle of the upper body. As you descend, sink straight down into your front hip… you should feel it in the glute and thigh. Push through your front foot to come back up and lock the knee before repeating desired reps.
Glute Bridge
Lay on your back with feet close to your butt. Drive elbows into the ground as if doing a seated row to engage the back. Push through your feet to raise the hips and tuck the hips at the same time. The top position should see a perfectly straight line between your knees, hips, and shoulders. Squeeze glutes hard for a split second and then lower and repeat. Adjust foot position to get the contraction isolated in the glutes.
Glute bridge With Dumbbell
Similar to the bodyweight glute bridge with the added weight resting across your hips. If this is uncomfortable, place this weight over a soft surface such as a towel:
Lay on your back with feet close to your butt. Drive elbows into the ground as if doing a seated row to engage the back. Push through your feet to raise the hips and tuck the hips at the same time. The top position should see a perfectly straight line between your knees, hips, and shoulders. Squeeze glutes hard for a split second and then lower and repeat. Adjust foot position to get the contraction isolated in the glutes.
Hip Thrust
Very similar to a glute bridge but now your shoulders are raised, meaning you get more range of motion at the hips:
Sit very close to a sofa with shoulders and arms resting against the edge. Feet close to your butt. Push through your feet to raise the hips and tuck the hips at the same time. The top position should see a perfectly straight line between your knees, hips, and shoulders. The lower legs should form a perfect vertical line when viewed from the side. Squeeze glutes hard for a split second and then lower and repeat. Adjust foot position to get the contraction isolated in the glutes.
Single-Leg Hip Thrust
Sit very close to a sofa with shoulders and arms resting against the edge. Feet close to your butt. Raise one leg out the way by pulling the knee towards your chest. Push through your working foot to raise the hips and tuck the hips at the same time. The top position should see a perfectly straight line between your knee, hip, and shoulder. The lower leg should form a perfect vertical line when viewed from the side. Squeeze glute hard for a split second and then lower and repeat. Adjust foot position to get the contraction isolated in the glute.
Goblet Squat
Hold a dumbbell against your chest. Keep the elbows tucked and wrists straight. Adopt a stance that is comfortable for squatting. For most people, that means feet just outside shoulder width and turned out slightly.
Take a deep breath. Squat down until your thighs are roughly parallel with the ground (or where you feel most comfortable) and then push through your feet back up to standing.
Two Arm Front Squat
Hold two dumbbells in front of your body, palms facing you and elbows up in line with shoulders. Keep the elbows tucked and wrists straight. Adopt a stance that is comfortable for squatting. For most people, that means feet just outside shoulder width and turned out slightly.
Take a deep breath. Squat down until your thighs are roughly parallel with the ground (or where you feel most comfortable) and then push through your feet back up to standing.
Dumbbell RDL
Start in a standing position with dumbbells by your sides – feet hip-width apart and a shallow bend in the knees. Reach the hips back and tilt the tailbone up to the sky (also imagine your pelvis is a bucket of water and you’re trying to spill water out the front). Find that deep hamstring stretch then drive the hips forward and repeat.
Deadlift With Dumbbells
Start in a standing position with dumbbells in front of the hips – feet outside shoulder width and toes turned out slightly. Reach the hips back and tilt the tailbone up to the sky (also imagine your pelvis is a bucket of water and you’re trying to spill water out the front). As you do this, squat down to a comfortable depth. Your torso should be leaning forward but you should feel the load in the back of your legs. Drive the hips forward and stand tall. Repeat.
Deadlift With Dumbbell
Start in a standing position, holding a dumbbell in front of the hips – feet outside shoulder width and toes turned out slightly. Reach the hips back and tilt the tailbone up to the sky (also imagine your pelvis is a bucket of water and you’re trying to spill water out the front). As you do this, squat down to a comfortable depth. Your torso should be leaning forward but you should feel the load in the back of your legs. Drive the hips forward and stand tall. Repeat.
Upper Body EXERCISE DESCRIPTIONS
Push-Up
Start in a plank position with hands under shoulders. Your core should be braced and glutes squeezed to maintain a flat low back. Pull your body down, keeping the elbows tucked and leading with the chest. Push the floor away from you to lock the arms out and repeat.
Incline Push-Ups
Same as regular push-ups with hands-on an inclined surface. This reduces the amount of bodyweight loaded:
Start in a plank position with hands under shoulders. Your core should be braced and glutes squeezed to maintain a flat low back. Pull your body down, keeping the elbows tucked and leading with the chest. Push the floor away from you to lock the arms out and repeat.
Floor Press With Dumbbells
Start on your back with dumbbells next to you. Hoist them up into position using momentum to help. Bent knees and feet flat. DB’s directly over shoulders. Pull the DB’s down at a 45-degree angle to your torso. Lightly tap elbows on the floor and then drive back up until the elbows are locked out.
Dumbbell ½ Kneeling Overhead Press
Start in a ½ kneeling position with the back knee on the ground and a 90-degree angle at the knees. Abs braced and back glute squeezed for stability. Raise the dumbbell so your elbow is in line with your shoulder at a 45-degree angle to the midline. Press the weight overhead until your hand is directly stacked over your shoulder. Pull back down into the start position and repeat.
Bent-Over Row With Dumbbells
Start in a standing position with dumbbells by your sides. Hinge the hips – drive back until your torso is almost parallel with the ground. Your lower back should be perfectly flat and your weight is supported by the legs. Drive the dumbbells back towards your hips – elbows finish in line with torso and shoulder blades pinched together. Straighten arms and repeat.
Alternating Bent Over Row With Dumbbells
Start in a standing position with dumbbells by your sides. Hinge the hips – drive back until your torso is almost parallel with the ground. Your lower back should be perfectly flat and your weight is supported by the legs. Drive the dumbbells back towards your hips – elbows finish in line with torso and shoulder blades pinched together. From here, straighten one arm, pull back into position and repeat on the other side. Continue in this fashion until all reps are complete.
Three-Point Row With Dumbbell
Start in a standing position with one dumbbell by your sides. Hinge the hips – reaching back until your torso is almost parallel with the ground. Your lower back should be perfectly flat and your weight is supported by the legs. The opposite arm should be supported in front of you. Drive the dumbbell back towards your hip crease – elbow finishes in line with body and shoulder blade pulled towards the midline of the body (spine). Straighten your arm and repeat.
Dumbbell Row
Support one knee on a couch or similar low surface such as a chair. Your other leg should be out to the side, with toes in line with the knee opposite knee. Your lower back should be perfectly flat and your weight supported by your legs and your lowered arm. Drive the dumbbell back towards your hip crease – elbow finishes in line with body and shoulder blade pulled towards the midline of the body (spine). Straighten your arm and repeat.
Core EXERCISE DESCRIPTIONS
Dead Bug
Start on your back with arms straight, knees stacked over hips, and a 90-degree angle at the backs of the knees. Your lower back should be flush with the ground. Brace abs and breathe in. Now, extend your leg, reaching through the heel and opposite arm Breathe out through pursed lips as you do this. Fight to keep your low back flat without popping up off the floor. Pull back to start position while breathing in and repeat on the opposite side.
Plank
Elbows directly under shoulders. Your body is perfectly straight with hips tucked, low back flat, glutes and abs braced to keep the spine straight and stable. Hold position strong while maintaining breathing under the braces abs.
Hollow Body Hold
Start in a dead bug position (on your back with arms straight, knees stacked over hips, and a 90-degree angle at the backs of the knees. Low back should be flush with the ground). Reach arms up to ‘crunch’ the upper abs. Now, slowly lower your feet to the ground with bent knees until the soles of your feet are hovering just off the ground (Keep low back flat as you do this). Hold this position and maintain your breathing for the desired time.
Side plank tap
Lay on your side. Legs stacked. Elbow directly under shoulder. Raise hips until the body is in a perfectly straight line. Maintain this position while simultaneously reaching arm up and tapping the ground for desired reps.
If you liked this post, don’t forget to share so that others can find it, too.
Please note that the information provided in the Polar Blog articles cannot replace individual advice from health professionals. Please consult your physician before starting a new fitness program.