It’s not about how fast you run or how long you go. Variety and consistency are the keys to your growth as a runner. That’s why any running plan worth its salt includes different types of runs: some will be long and slow; some, short and fast; and some will involve different intervals and speedwork.
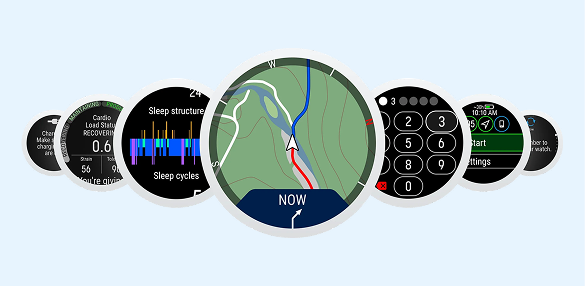
Because every run has a different purpose, the key metric you want to look at will be different. Your Polar watch can reflect this. For any type of run, there are suitable training views that show on the screen of your watch the relevant metrics for that specific run. Different training views is one of the greatest advantages of using a running watch. At all times you can focus on just the metrics that matter. For example, if you’re going for a progressive run, you want to make sure your current pace is faster than it was during the previous section of the run.
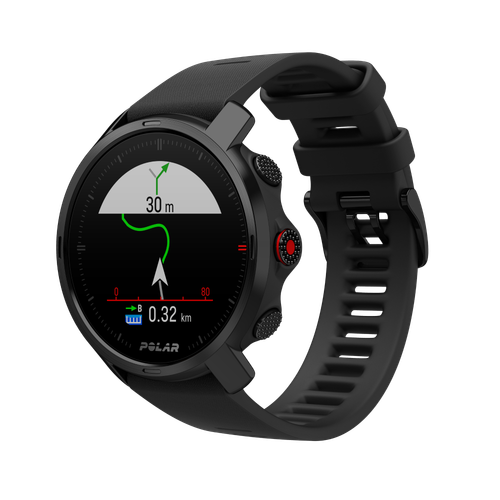
With many of our sports watches (including Polar Street X), you can customize your training views and choose what metrics are shown on screen during your workout. To help you decide and give you some inspiration we put together a list of five different training views for Polar Street X – for five different running workouts. To customize your training views, go to your Polar Flow app and edit the running sport profile.
Okay, do you have Polar Flow all ready to go? Let’s do this. The screenshots below show Polar Street X.
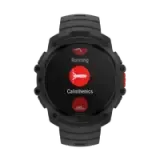
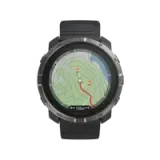
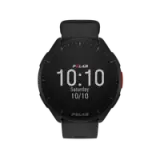
The Fundamentals Training View
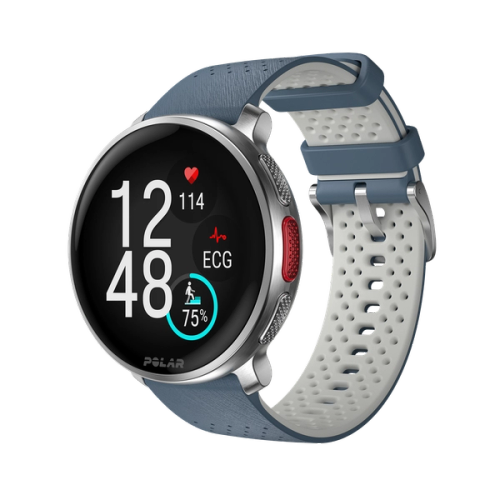
1. Distance 2. Pace 3. Duration 4. Heart rate
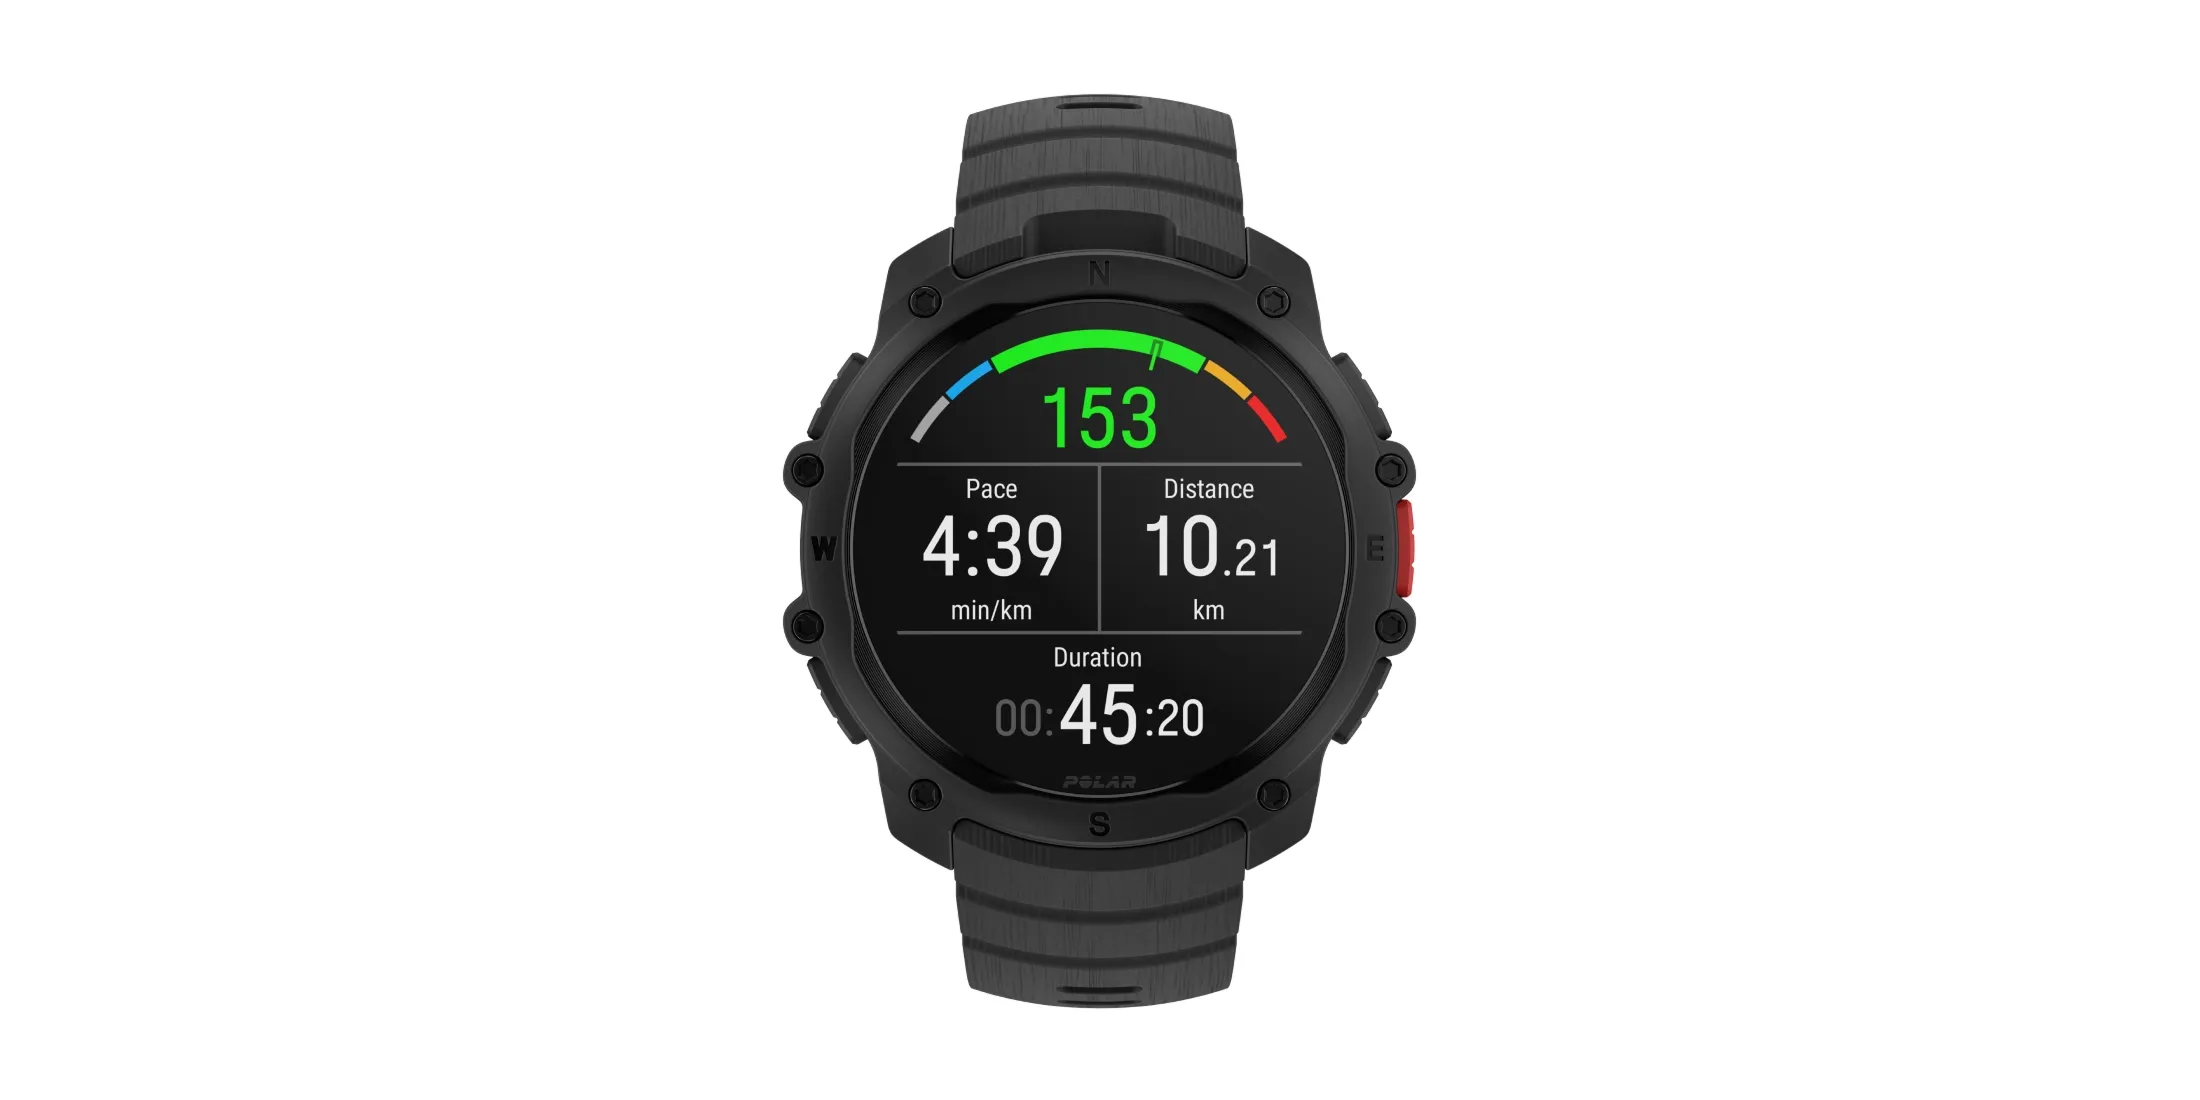
What makes this training view so fundamental?
If you only use one training view, use this. This is the workhorse of training views: reliable, versatile and robust. There are two main ways to determine the goal of a running workout: distance or duration. You could, for example, decide to do a 10K run or a 60-minute run. That’s why we’ve included both distance and duration. You also have to decide the intensity of your running workout, usually by determining the pace or the target heart rate. Combine these four values into one training view and you’re good to go.
undefined
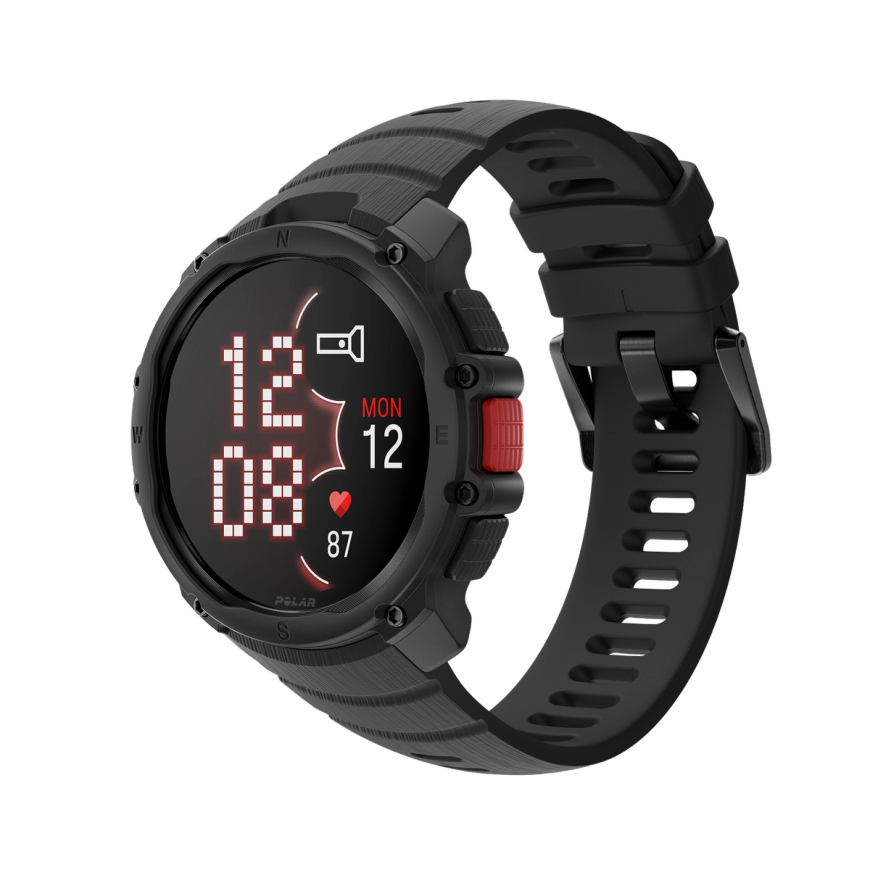
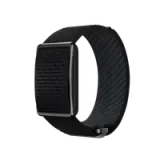
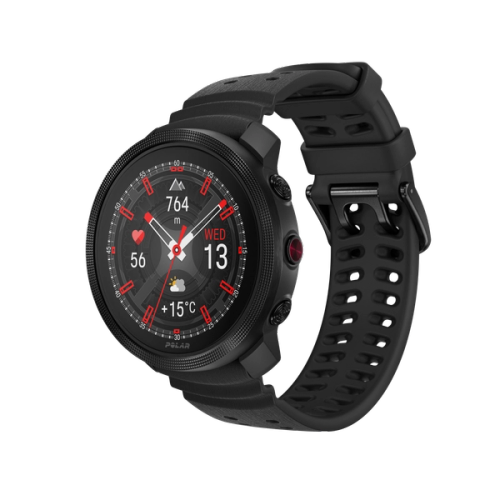
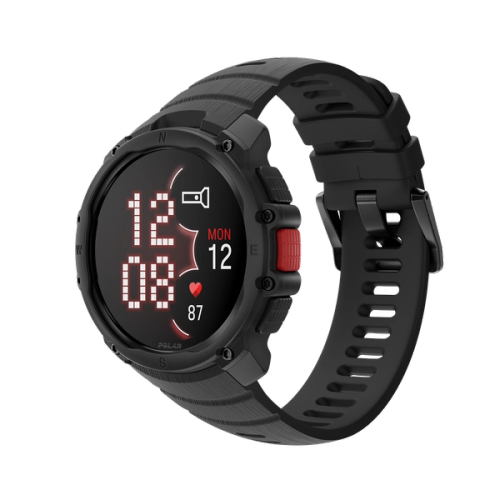
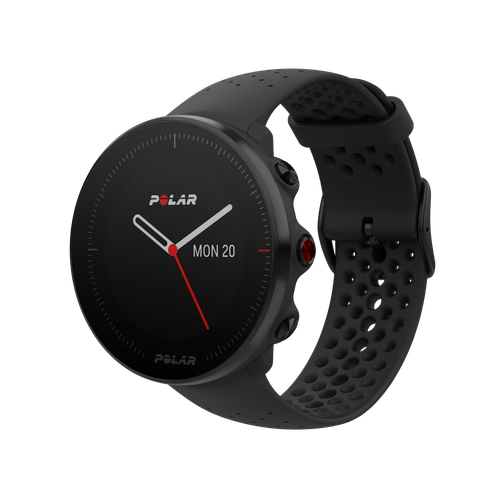
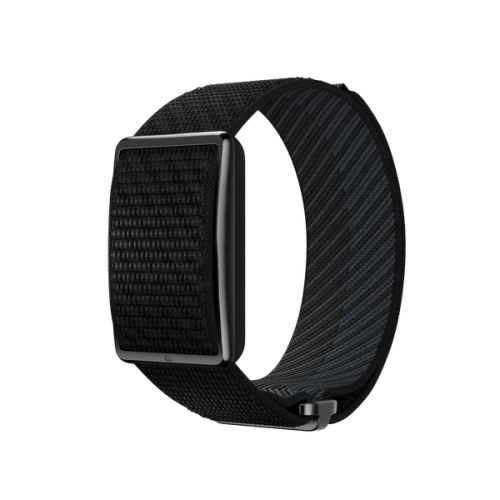
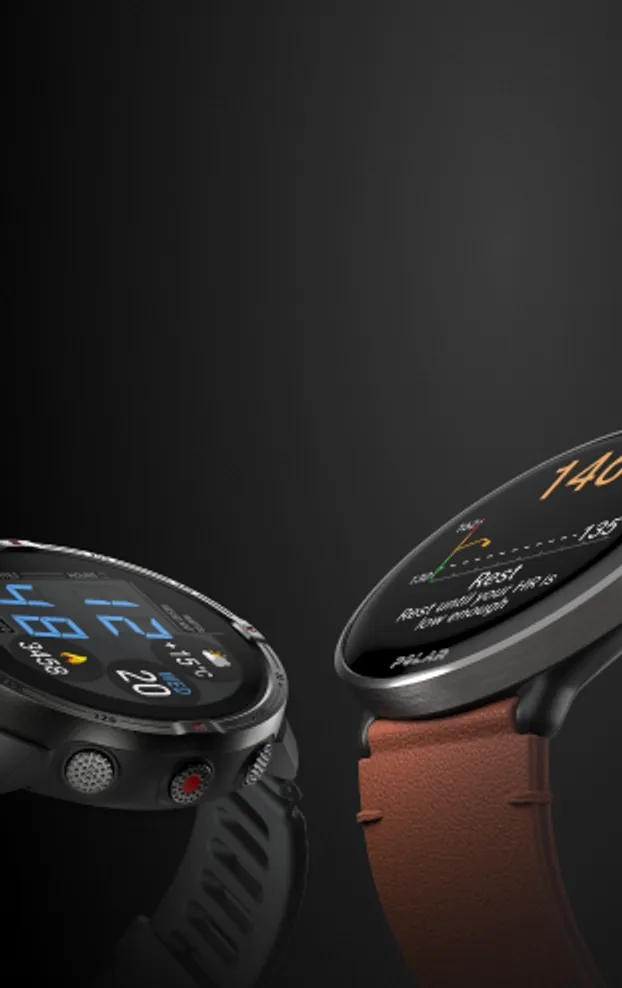
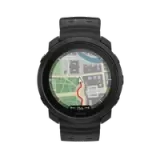
POLAR Street X
The Urban Sports Watch
POLAR Street X is the urban sports watch for those who live, work, and train in the city. Tough, lightweight, and always ready, it delivers reliable GPS, a bright AMOLED display, precision heart-rate tracking, and 24/7 shock resistance for training, commuting, and everyday wear.
Interval Training View
- Lap distance 2. Pace 3. Lap time 4. Heart rate
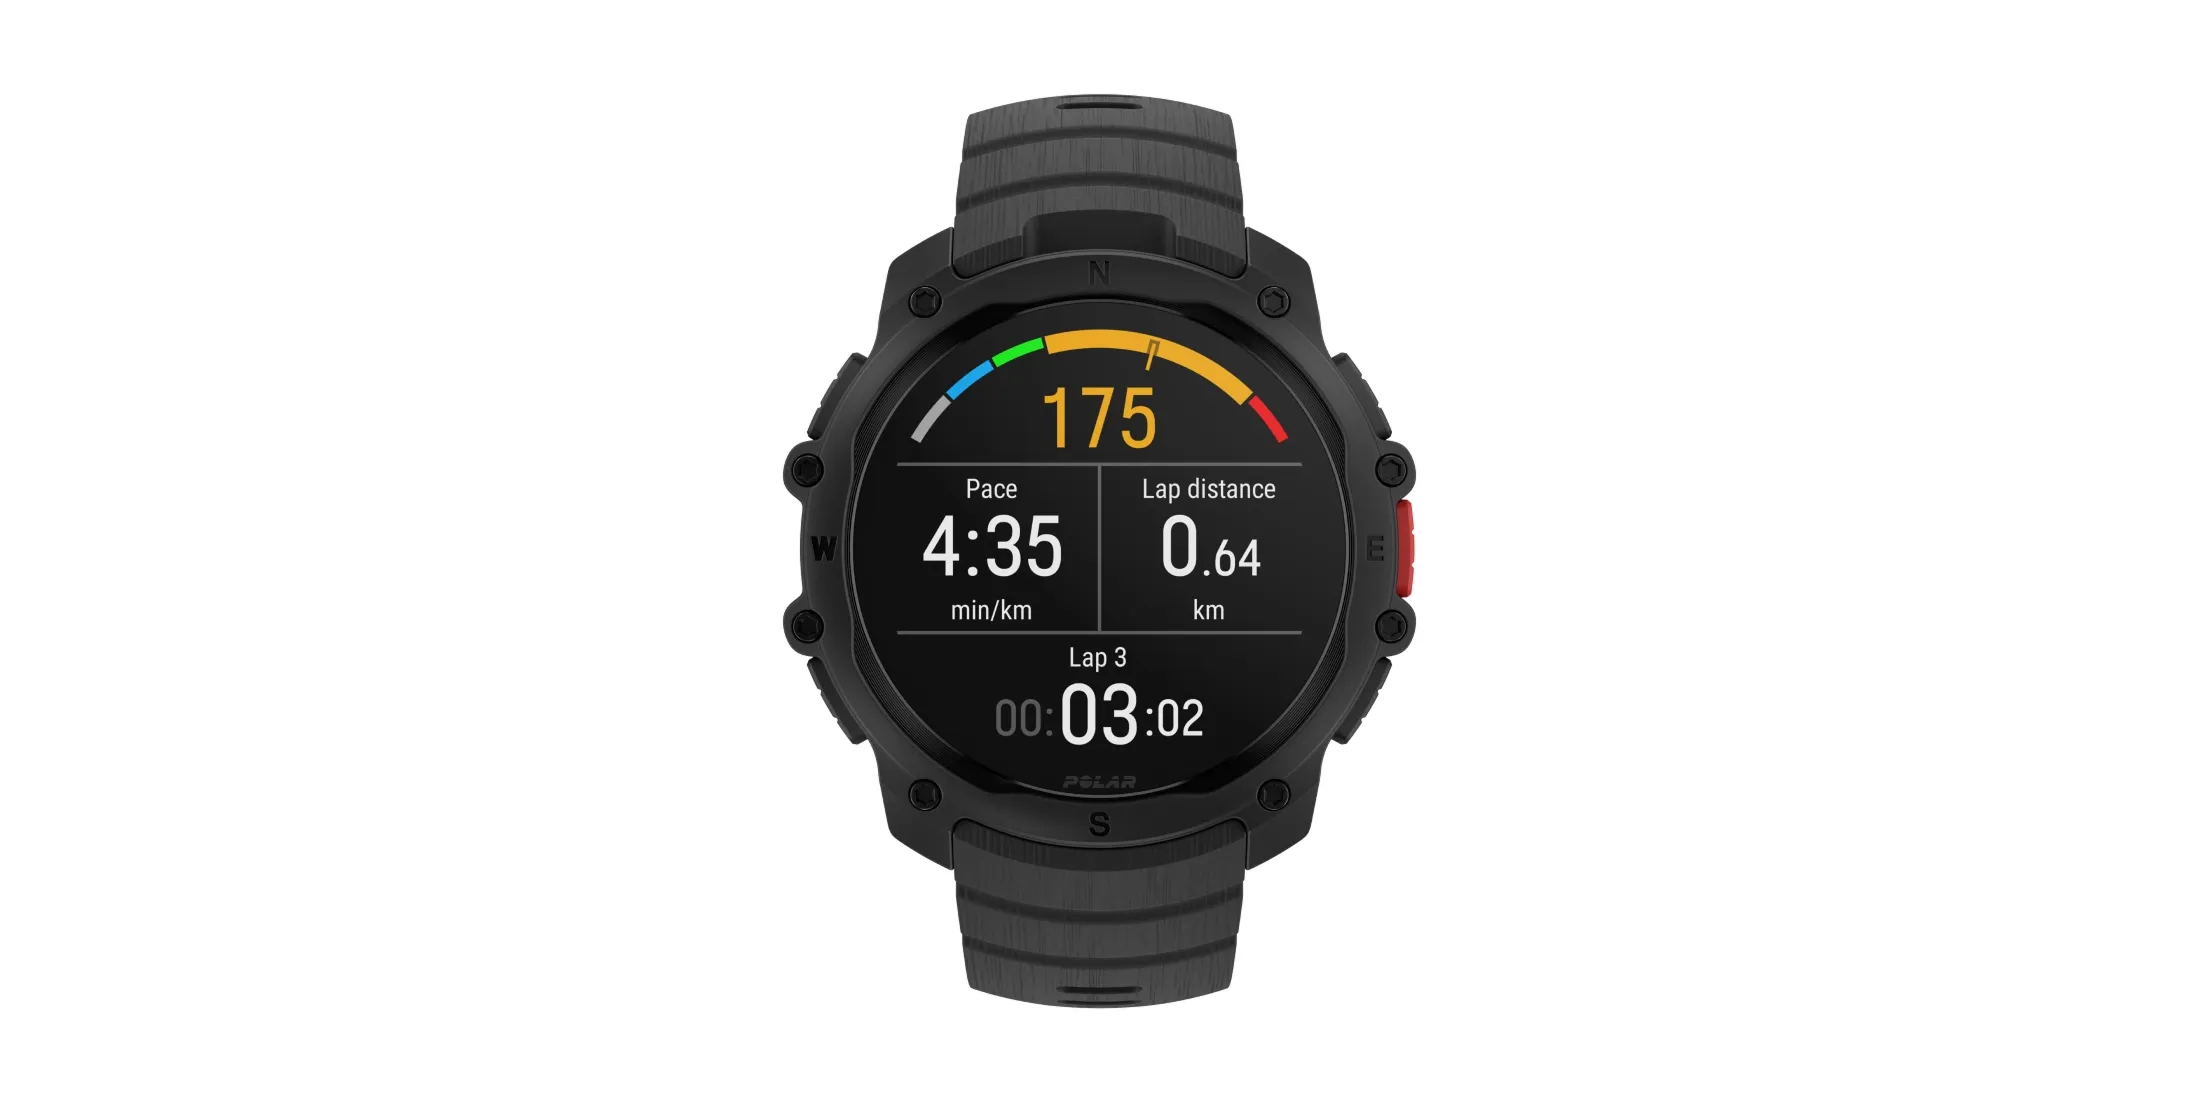
Another versatile training view
This view is similar to the Fundamentals Training View but instead of overall distance and duration, we’re more interested in lap distance and lap time. An interval training workout is composed of sections you run at different intensities. When you start a new section, you should also start a new lap. You can also use this as your go-to training view even if you’re not doing interval training. Just don’t start a new lap during your run and lap distance and lap time will indicate your overall distance and time.
What should you keep an eye on during an interval workout?
Use lap distance or lap time to determine when the next section starts. Keep an eye on your pace and heart rate to gauge the workout intensity.
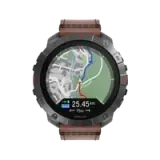
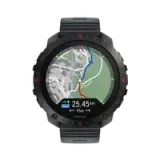
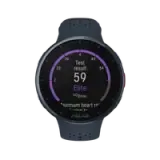
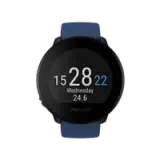
Progressive Run Training View
- Distance 2. Last automatic lap time 3. Automatic lap speed/pace avg 4. Heart rate
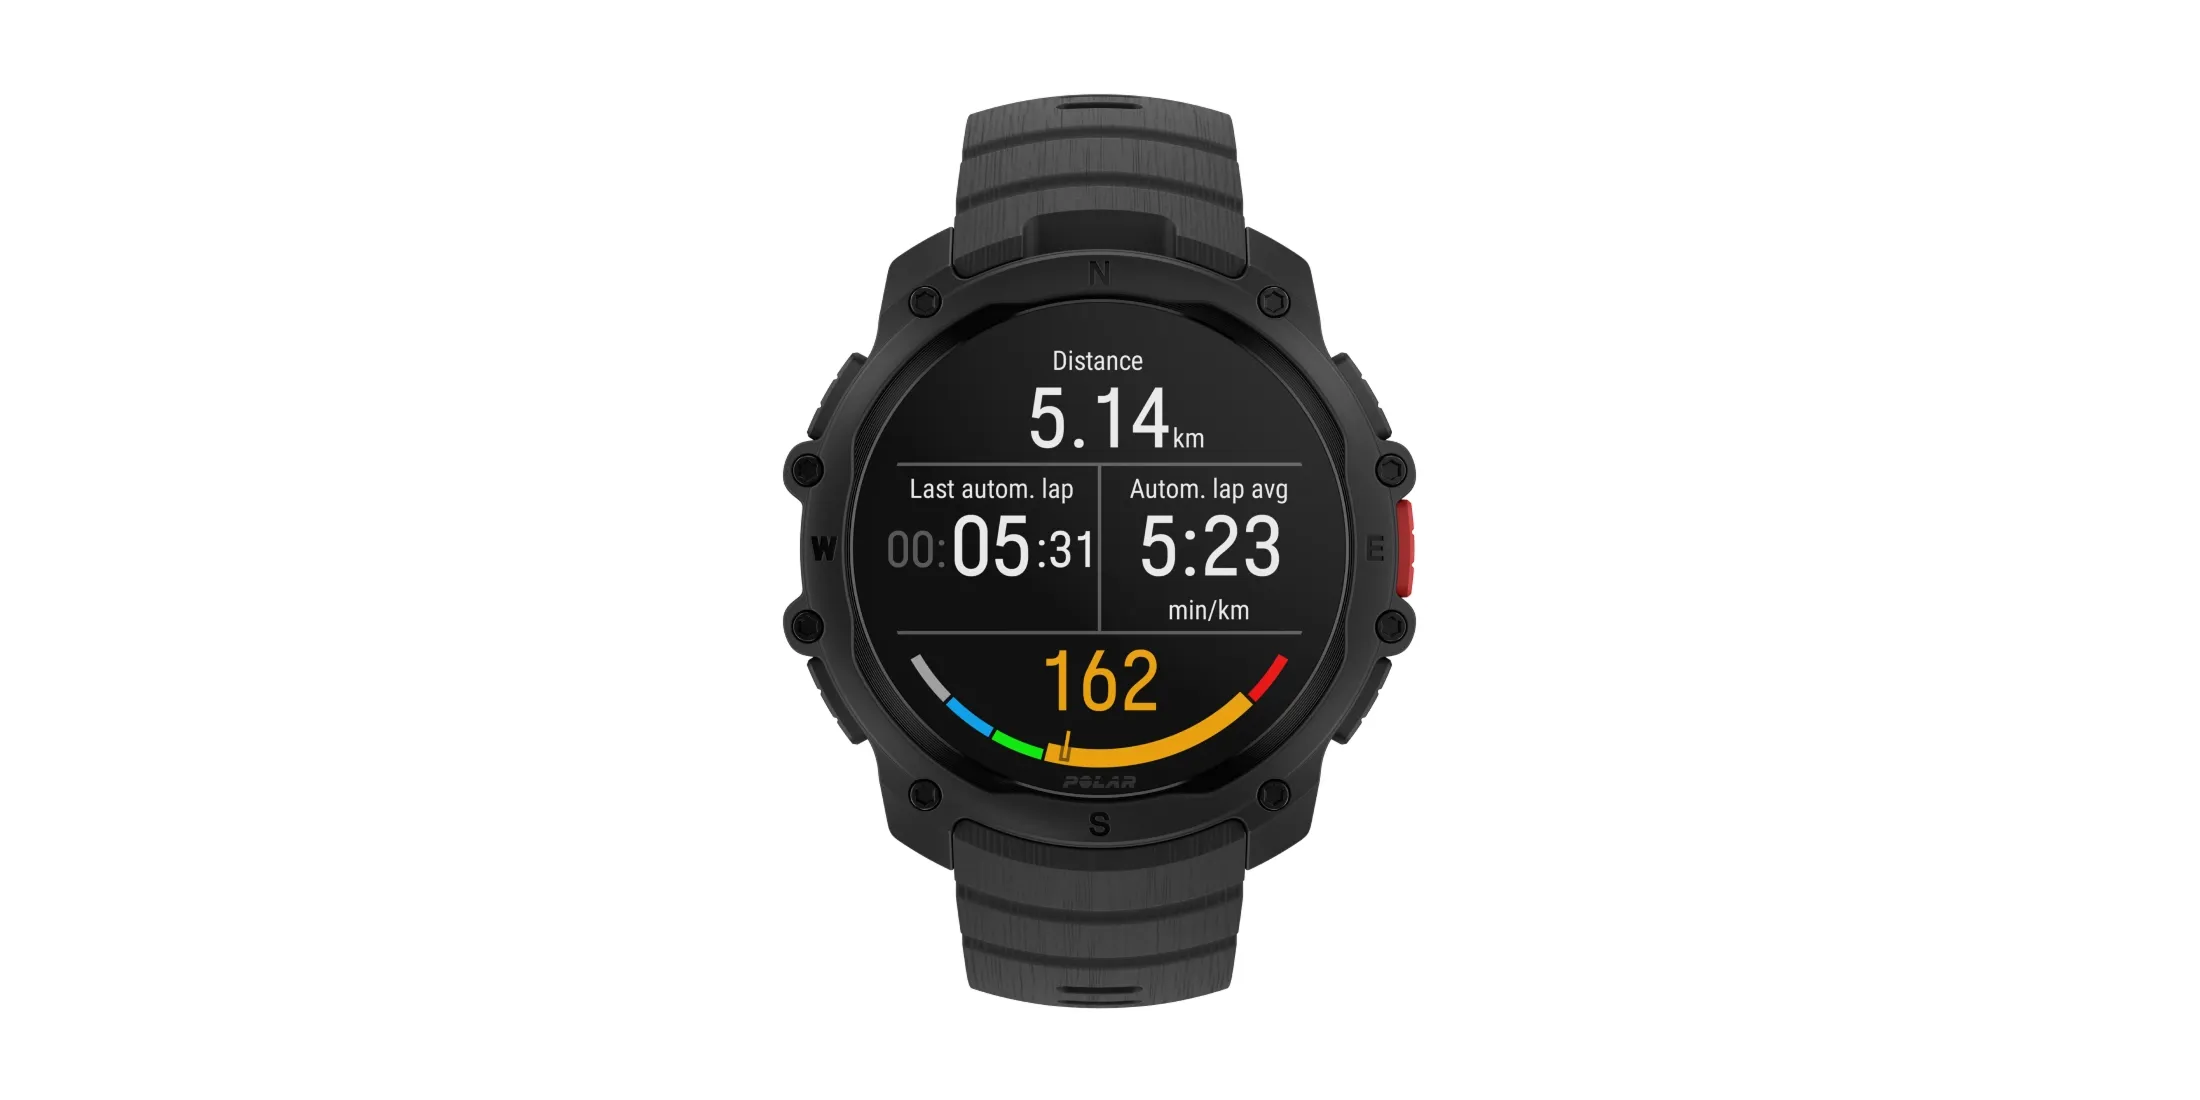
What is a progressive run?
A progressive run is one in which you up the intensity of your workout throughout your run. At the start of your workout, you’re feeling fresh, excited and full of energy. You might feel tempted to start fast and slow down later. Resist that temptation and enjoy the training benefits of progressive runs. If your running route is such that it doesn’t affect your pace, you should run every mile faster than the one before. If that’s not possible, at least make sure you’re not slowing down. This way the training effect of your workout will remain positive.
What should you keep an eye on during a progressive run?
A suitable training view should help you control your pace. With distance you’ll know how long you’ve got ahead of you and your heart rate will tell you how much harder you can go. If you set up automatic laps for every mile/kilometer on Polar Flow, last automatic lap time will effectively tell you your pace (as in how many minutes it took you to run the last mile/kilometer). Similarly automatic lap speed/pace avg will give you your current pace. By comparing the last automatic lap time and the automatic lap speed/pace avg you can make sure that your pace is progressive.
Automatic laps on Polar Street X
You can set up automatic laps in Polar Flow > Settings > Sport profiles. For Polar Street X, you can set up automatic laps based on duration or distance. For example, you can define that Polar Street X starts a new lap every 1 kilometer or mile, or every 5 minutes.
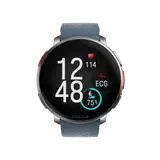
Track Running Training View
- Lap time 2. Heart rate
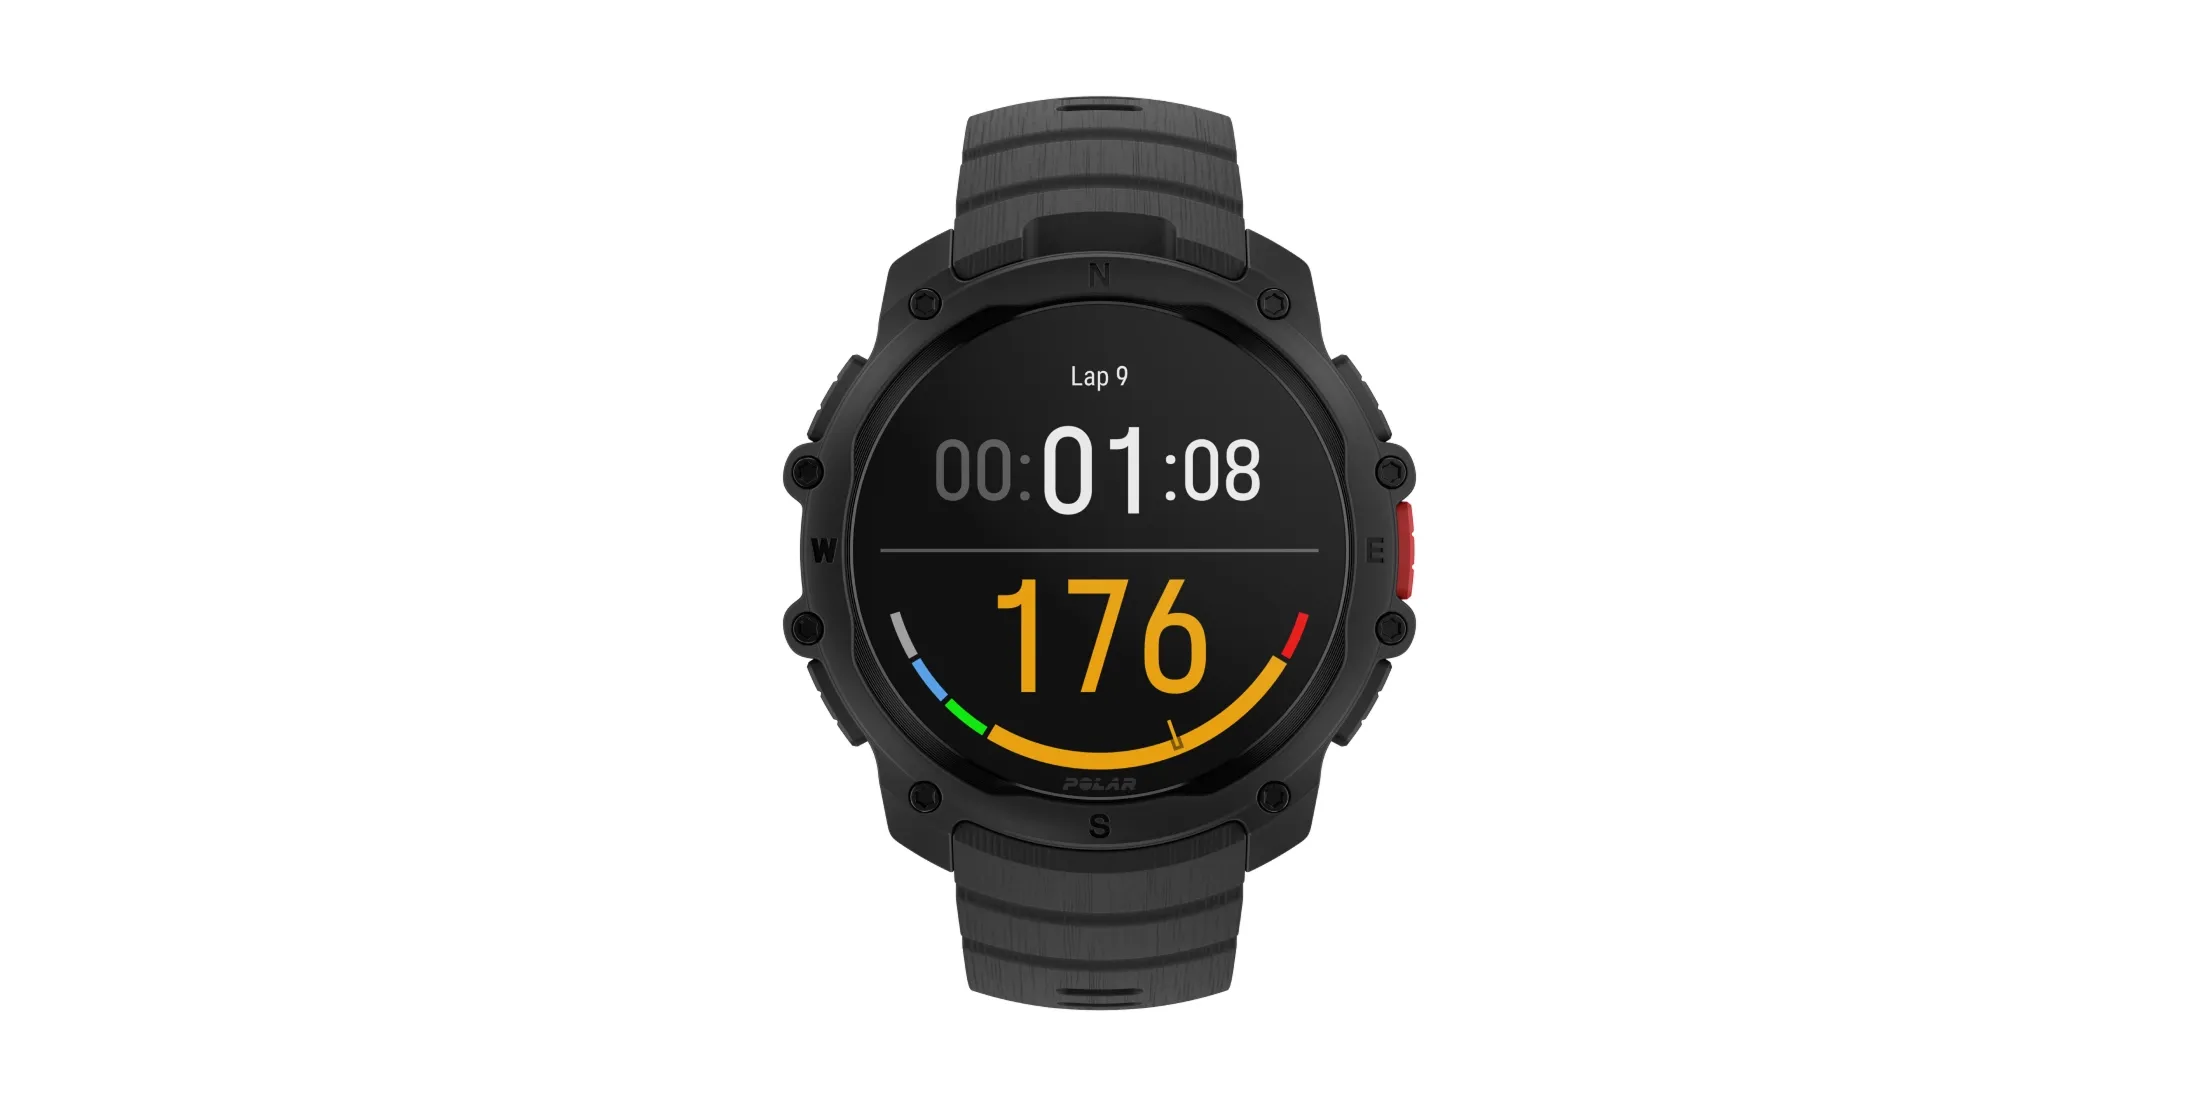
Going hard on the track
The hardest interval runs are often done on the track. The aim is to run a certain distance within a certain time. For example, you could aim to run half a lap in 45 seconds. You won’t need the GPS because you’ll be using the track markings to track your distance. A common mistake that runners make is going full throttle in the first work phase, then having to slow down. Don’t run a section so hard that you can’t pick up your pace in the following section. Your last interval should be the fastest. Also, each interval should have an upward curve. Speed up during the interval and don’t slow down. If you notice you can’t keep up your pace, you’ve started too hard.
Focus on what’s important
Interval training can be an extremely taxing exercise. You’ll get the best results if you focus on what you’re doing and nothing else. That’s why there are only two values on this training view: lap time and heart rate. When you’re recovering, having only these two values will keep your mind from wandering.
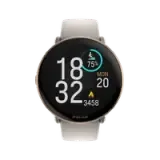
Fartlek Training View
- Duration 2. Lap time 3. Pace zone 4. Heart rate
What is fartlek?
Fartlek is a Swedish invention (that’s why the name sounds like a minimalistic coffee table) and stands for speed play. The aim of fartlek is to break the monotony of a long run to sections of running hard and running easy. Your fartlek session should include a warm-up phase, a work phase and a cool down phase. During the work phase you run either easy or hard. What makes it different from an interval training session is the duration of the work phases: during a fartlek session you decide how long you run. If you’re feeling good, run longer and harder. If not, keep the hard sections relatively short. You can also try three levels of intensity instead of just two: easy, moderate and hard. Fartlek training will enable you to run faster at a certain heart rate and handle lactate more efficiently. And it’s fun! Let’s not forget that.
What should you keep an eye on during speed play?
You should see the duration of your session. Often you aim for a certain overall duration and break that into shorter sections that you run at different intensities. For example, you can decide to do a 40-minute fartlek session. You should start a new lap each time you change intensity. With lap time you can keep track of how long your work phases are. Your heart rate doesn’t immediately reflect changes in how fast you’re running. A better indicator is your pace zone. Start running faster, make sure that you’ve moved up a pace zone, then move your focus to your heart rate to see what heart rate zone your training in. The easy sections should be done in zone 2, while the hard sections could go up to zone 4. Sharing is caring, especially when it comes to the best training views. When you share this article, we’d love to hear what your favorite training views are and why.
Make these views your own
Five views, five workouts – but this is a starting point, not a rulebook. Polar Street X lets you build training views from dozens of metrics, so the combinations are nearly endless. Mix and match the fields that matter to you, swap one metric for another, or build a brand-new view for a workout we haven’t covered here. The best training view is the one that keeps your eyes on what counts for that run – and off everything else.
So experiment. Set one up, run with it, and change what doesn’t work. But whatever you do: go and have fun running.
Enjoying this article? Subscribe to the Polar Newsletter and get notified when new articles are out.
Subscribe
 POLAR Street X
New
POLAR Street X
New
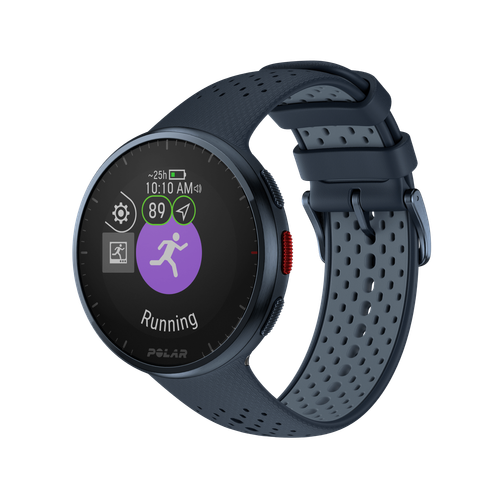
 Polar Vantage M3
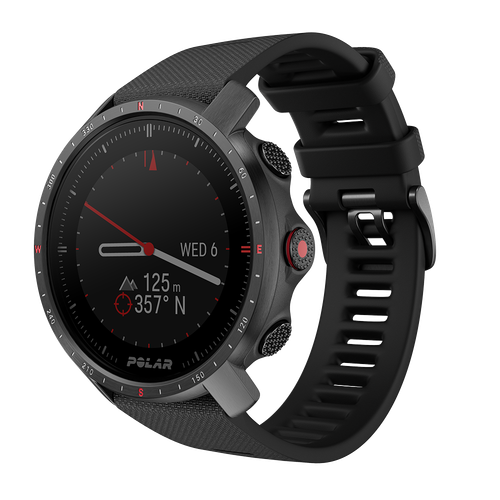
 Polar Grit X2 Pro Titan
 Polar Grit X2 Pro
 Polar Grit X2
 Polar Vantage V3
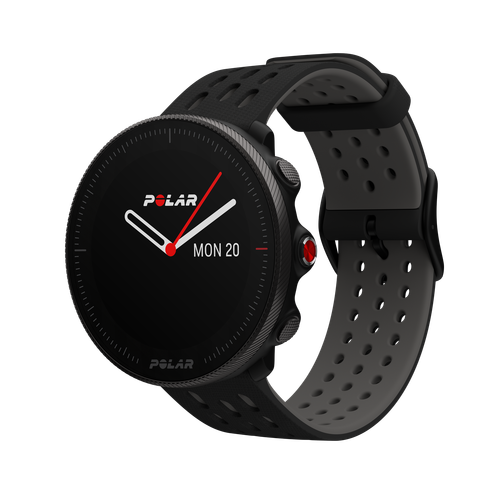
 Polar Ignite 3
 Polar Pacer Pro
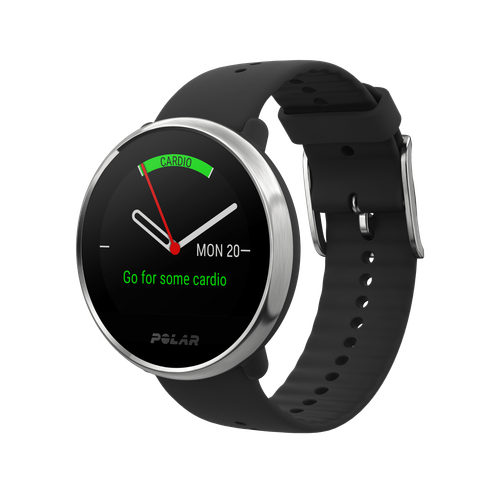
 Polar Pacer
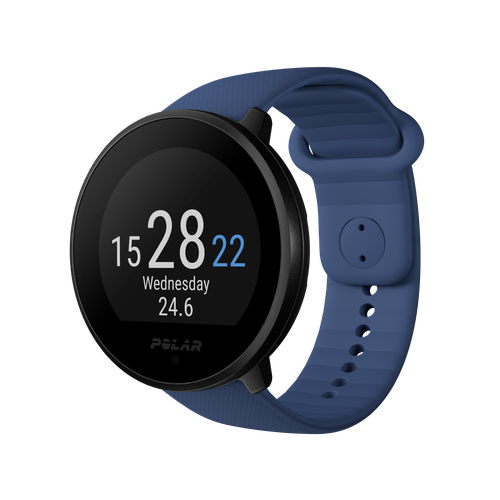
 Polar Unite
Grit X Series
Vantage Series
Pacer Series
Ignite Series
Polar Unite
Grit X Series
Vantage Series
Pacer Series
Ignite Series